As depressing as the start of the school year may be, in the midst of new teachers, quizzes, tests and failing grades, there lies the wondrous holiday of Halloween.
With Halloween coming to us on a Saturday this year, there are just more reasons to celebrate!
No matter what you may be doing October 31st, candy at every house is a necessity! Besides, no child would be happy with just some old broken candy canes from last year.
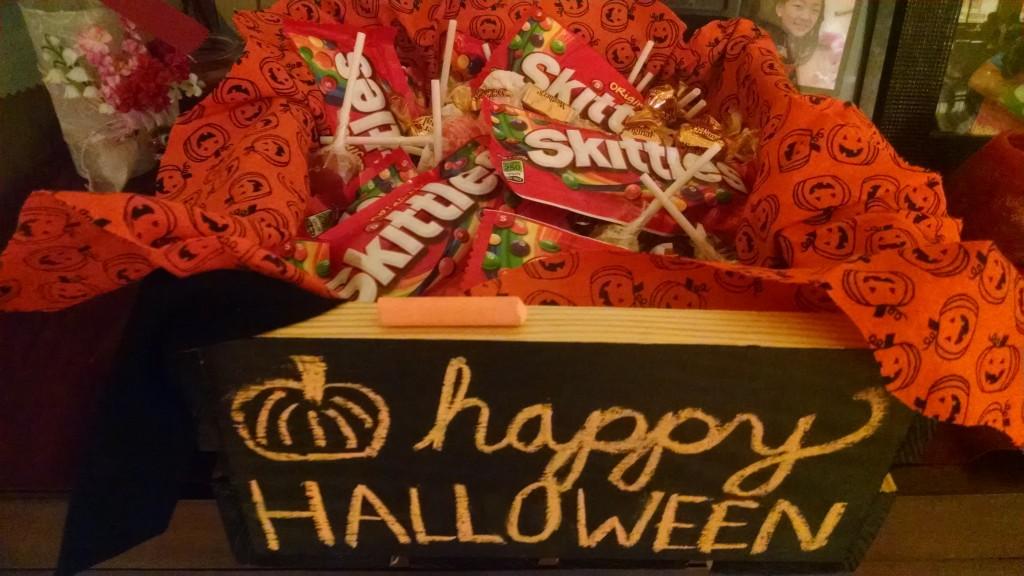
If you’re going to serve candy, why not serve it in style? This candy crate takes about ten minutes to make and will definitely add to the Halloween spirit.
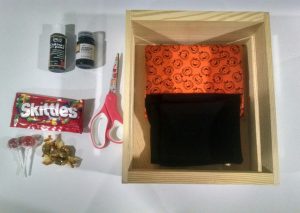
1) You will need:
• Scissors
• Fabric (two or more prints/types)
• Chalkboard Paint (and brush)
• A Wooden Crate
Most importantly, don’t forget your goodies! In my case, I choose Skittles, lollipops, and caramels!
2) Cut your fabric. Thin fabric is best, and most materials will work. An old picnic blanket is perfect to help infuse the fall spirit!
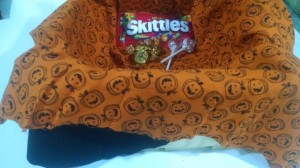
Here, I’m using a black fabric and an orange pumpkin print for Halloween, but you can try using fall colors, too, especially if you plan to keep the crate past Halloween!
To cut, I lined the crate with the fabric and then cut it to size. You want a bit of overhang to help incorporate that texture element. Try adding a fun edge to it!
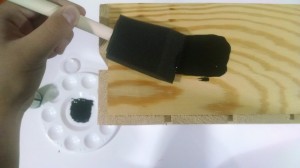
3) Paint the crate! If you want to use your chalkboard crate often, I suggest using a primer first. I purchased black multi – surface paint. Multi – surface paint is a paint that is less likely to peel or fade, and will hold well to the wood. Any brand should work.
I used a foam brush to avoid brush strokes from showing. However, if you don’t have one on hand, you can simply paint in thin layers using a wide brush. One layer should be sufficient with the foam brush; just make sure the wood is not showing through the paint.
4) Now, paint the crate with the chalkboard paint in the same way described in step 3, after the primer has dried. If you’ve never worked with chalkboard paint before, chalkboard paint is used the same way as regular paint. Be careful if using the same brush and make sure to wash it first!
5) After the paint has dried, take some chalk and write your message! Like a true chalkboard, the chalk will leave some smudges if rubbed, so I suggest planning out your message first to increase visibility. However, it is completely erasable with a wet paper towel. I actually used a wet Q-tip to clean up some of these letters.
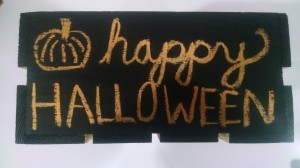
I went with a general message, but if you plan to leave the crate outside unattended, try writing a candy limit. You can even draw! To increase visibility, use brightly colored chalk. I used orange for Halloween, but white will work as well.
6) Here is the finished crate! The crate does have some heft to it when full, so don’t plan on carrying it to the front door for every trick-or-treater. Try leaving it on a stool by the front door or on your doorstep.

Following Halloween, you can switch out the fabric lining to match the season, write a new message, and fill it with anything you’d like! I plan to draw Olaf on mine and fill the crate with hand warmers and mittens to welcome winter.
